Step-by-Step Guide to Planning an EV Charger Installation at Home
How to Plan an EV Charger Installation at Home in Kennewick, WA
Your Complete Step-by-Step Installation Guide
Make the switch with confidence
Understanding Electrical Capacity and Charger Types
Before installing an EV charger at home, you need to understand your vehicle’s charging requirements and your home’s electrical capacity. Most electric vehicles accept different charging speeds, and selecting the right charger type determines how quickly you can recharge overnight and whether your existing electrical infrastructure can support the installation.
Level 1 chargers plug into standard 120-volt household outlets and add approximately 3-5 miles of range per hour of charging. While convenient and requiring no special installation, Level 1 charging is impractically slow for daily drivers who cover significant distances. Level 2 chargers operate on 240-volt circuits (the same voltage that powers your electric dryer or oven) and deliver 25-30 miles of range per hour, making them the preferred choice for residential installations. DC Fast Charging remains primarily a commercial solution due to its high power demands and infrastructure costs.
In Kennewick and throughout the Tri-Cities area, most homeowners opt for Level 2 charging stations that draw between 30 and 50 amps. Your choice depends on your vehicle’s onboard charger capacity and your daily driving patterns. A vehicle with a 7.2 kW onboard charger gains no benefit from a higher-amperage charger, while newer models with 11.5 kW or higher capabilities can take full advantage of a 48-amp charging station.
Calculate your typical daily mileage and determine how many hours your vehicle sits parked at home. If you drive 40 miles per day and park for 10 hours nightly, even a lower-amperage Level 2 charger provides ample charging time. However, households with multiple electric vehicles or inconsistent parking schedules benefit from higher-capacity installations. A qualified electrical contractor can assess your specific usage patterns and recommend the appropriate charger specifications for your situation.
Evaluating Your Electrical Panel Capacity
Your home’s electrical panel serves as the distribution center for all electrical circuits, and adding an EV charger represents one of the largest continuous loads you can introduce to your system. Most residential panels in the Kennewick area range from 100 to 200 amps of total capacity, and you must verify that sufficient capacity remains available before proceeding with an installation.
Start by locating your main electrical panel and identifying the amperage rating printed on the main breaker. A 200-amp service typically accommodates a Level 2 EV charger without difficulty, provided your existing loads (heating, cooling, water heater, appliances) do not already consume the majority of available capacity. Homes with 100-amp service may require a panel upgrade, particularly if you also operate central air conditioning, an electric water heater, and multiple high-draw appliances simultaneously.
The calculation extends beyond simply adding amperage numbers. Electrical codes require load calculations that account for demand factors, recognizing that not all circuits operate at maximum capacity simultaneously. A licensed electrician performs a formal load calculation that considers your heating system type, square footage, existing appliances, and the proposed EV charger draw. This calculation determines whether your panel has adequate capacity, needs a subpanel addition, or requires a complete service upgrade.
Many homeowners in the Tri-Cities built before the widespread adoption of electric vehicles discover during the planning process that their electrical infrastructure needs modernization. Panel upgrades represent a significant investment but provide long-term value by supporting not only your EV charger but also future electrical needs such as home additions, smart home automation, or additional high-efficiency appliances. During Washington’s cold winter months, the combination of electric heating and EV charging can stress undersized electrical systems, making proper capacity assessment particularly important for year-round reliability.
Selecting the Optimal Charger Location
Location selection balances convenience, cost, and practical considerations. The ideal placement minimizes the distance between your electrical panel and the charging station while ensuring the charger remains easily accessible from your regular parking position. Every additional foot of distance increases installation costs due to conduit, wiring, and labor requirements.
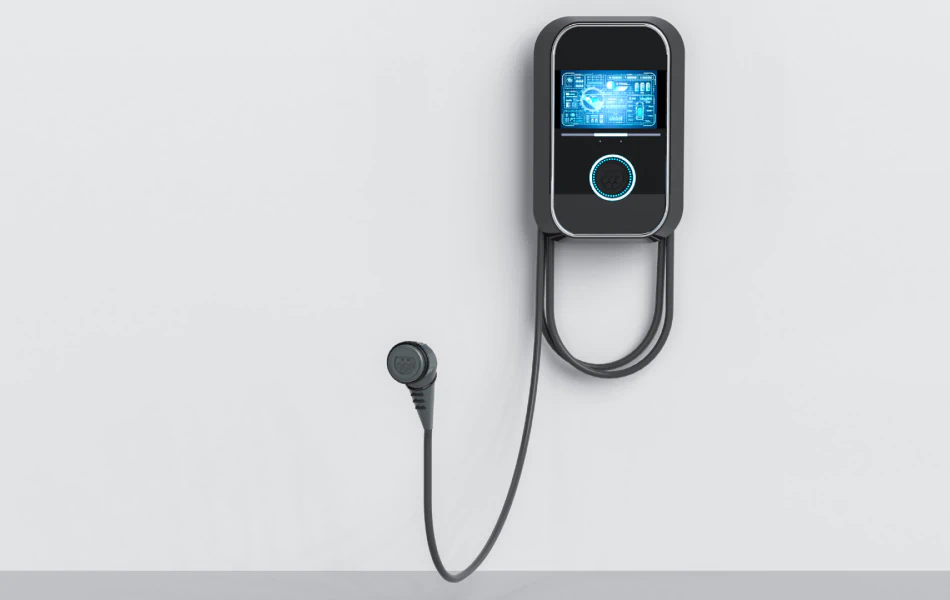
Garage installations offer the most straightforward option for homeowners with attached garages. Wall-mounting the charger near your regular parking spot protects the equipment from weather exposure and simplifies the electrical run from your panel. Ensure adequate clearance around the charger (most manufacturers specify minimum distances from corners, doors, and windows) and verify that your parking position allows the charging cable to reach your vehicle’s charge port without stretching or creating a tripping hazard.
Outdoor installations require weatherproof enclosures rated for exterior use and may involve trenching to run conduit underground if your panel sits on the opposite side of your home from your parking area. While outdoor chargers cost more to install, they work well for homes without garages or when you regularly park in a carport or driveway. Select a location that receives minimal direct sun exposure in summer to prevent overheating and ensure the unit stays accessible during winter weather conditions common in Eastern Washington.
Consider your charging cable management strategy when finalizing placement. Charging cables left on the ground create tripping hazards and sustain damage from vehicle traffic. Wall-mounted cable organizers or retractable cable management systems keep your installation tidy and extend equipment life. If you park multiple vehicles in the same area, position the charger to serve all potential parking positions or plan for multiple charging stations from the outset.
The distance between your vehicle’s charge port and your parking position matters more than many homeowners initially realize. Most Level 2 chargers include 18 to 25-foot cables, but you should measure the actual distance from your planned charger location to your vehicle’s charge port while parked in your typical position. Account for the cable path around your vehicle and any obstacles, then add several feet of slack to prevent cable strain during connection and disconnection.
Understanding Permits and Local Code Requirements
Residential EV charger installations in Washington State require electrical permits and inspections to ensure compliance with the National Electrical Code (NEC) and local amendments. While the permit process adds time and cost to your project, it protects your safety, maintains your home’s resale value, and ensures your insurance coverage remains valid in the event of an electrical incident.
The permit application requires detailed information about your planned installation, including the charger specifications, circuit amperage, wire sizing, installation location, and the route from your panel to the charger. Your electrical contractor typically handles permit applications as part of their service, as they possess the technical knowledge and established relationships with local building departments that streamline the approval process.
Washington’s electrical code mandates several specific requirements for EV charger installations. All circuits must include ground fault circuit interrupter (GFCI) protection to prevent shock hazards, and the installation must use properly sized conductors based on the charger’s maximum amperage draw and the circuit length. Outdoor installations require weatherproof enclosures and additional protection against physical damage. The code also specifies working clearances around electrical equipment, ensuring inspectors and future electricians can safely access your panel and charger.
After installation completion, a city or county electrical inspector visits your property to verify code compliance. The inspector checks wire sizing, connection quality, proper grounding, GFCI function, and installation workmanship. Failed inspections delay your ability to use the charger legally and may require costly corrections, which is why working with qualified residential electrical services professionals from the outset saves time and money. Once your installation passes inspection, you receive documentation that proves the work was completed to code, a valuable record for future home sales.
Some Kennewick-area utilities offer rebates or incentives for EV charger installations, and many programs require proof of permitted installation and code compliance to qualify for funding. Check with your utility provider before beginning your project to understand available incentives and their specific documentation requirements.
Preparing for Professional Installation Day
Proper preparation ensures your installation proceeds smoothly and minimizes disruption to your daily routine. Once you have selected an ev charger installer and scheduled your installation date, several steps help the process move efficiently from start to finish.
Clear the installation area of vehicles, storage items, and obstacles that might impede the electrician’s work. If your charger installation requires running conduit through finished spaces, move furniture and belongings away from walls along the planned route. Ensure the electrician has clear access to your electrical panel, as they will need to work inside the panel for several hours during the installation. If you have pets, arrange to keep them in a separate area of your home to prevent interference and ensure everyone’s safety.
Discuss the installation timeline with your contractor before work begins. Most Level 2 charger installations require four to eight hours, depending on the distance between your panel and charger location, whether panel upgrades are necessary, and the complexity of the cable routing. Your power will be temporarily disconnected during panel work, so plan accordingly if you work from home or operate essential medical equipment. Many homeowners schedule installations for weekends or arrange to be away from home during the work.
After installation, your electrician will demonstrate the charger’s operation, explain any smart features or connectivity options, and provide guidance on optimal charging practices. Take time to understand your charger’s settings, as many models offer scheduling features that allow you to take advantage of lower overnight electricity rates or integrate with home energy management systems. Test the charger with your vehicle before the electrician leaves to ensure proper function and address any questions while professional assistance remains on-site.
Planning how to integrate an EV charger installation at home requires attention to electrical capacity, location selection, code compliance, and working with qualified professionals who understand both the technical requirements and local conditions in the Kennewick area. Our team has completed numerous residential EV charger installations throughout the Tri-Cities, and we handle every aspect from initial assessment and permit applications through final inspection and demonstration. Contact us to schedule a site evaluation and receive a detailed proposal for your home charging solution.